
Easy Toilet Handle Repair: A Beginner’s Guide
Introduction:
Fixing a toilet handle is simpler than you might think. With just a couple of tools and some basic steps, you can have it working smoothly in no time.
Tools and Materials You May Need:

Slip Joint Plyers
These versatile pliers are a must-have for your toilet handle fix. With their adjustable grip, they’re perfect for tightening nuts and handling small components inside your toilet tank. Gentle yet firm, they’ll help you secure parts without over-tightening.

Teflon plumber’s tape
A little wrap of this wonder tape can prevent leaks and secure fittings. It’s perfect for renewing the threads on your toilet handle bolt, ensuring a snug fit. Plus, it’s easy to apply and a staple for any plumbing DIY task.

Confidence
With the right tools and a clear guide, you’re all set to tackle that toilet repair. Remember, fixing a toilet handle isn’t just about the mechanics; it’s about knowing you can do it yourself. Gear up and turn that uncertainty into a confident, problem-solving stride.
Step 1: Fixing a Loose Handle:
Tightening: If the handle wobbles, tighten the nut and washer inside the tank using pliers. Be gentle – over-tightening can damage your toilet.
Repositioning: If the handle sticks in the flush position, loosen the nut, adjust the handle to be parallel with the top edge of the tank, and then re-tighten the nut.


Step 2: Handling Stripped Threads
Temporary Fix: Wrap white plumber’s tape or electrician’s tape around the handle bolt’s threads if the nut keeps loosening. Then reattach and tighten the nut.
Permanent Solution: Consider replacing the toilet handle if the threads are badly stripped.
Step 3: Inspecting the Handle Arm
Check the handle arm for any cracks or breaks.
If you find damage, replace the entire handle and arm assembly.
Tip: Note the position of your handle (e.g., front left, front right, universal front, side mount) before buying a replacement.


Step 4: Checking the Chain
If the handle works but the toilet doesn’t flush, the issue might be with the chain connecting to the flapper.
Drain the Tank: Turn off the water supply valve, then lift the flapper to drain the tank.
Reconnect the Chain: If the chain has come loose, reattach it to the handle arm or the flapper, ensuring there’s a bit of slack.
Replace if Needed: If the chain or flapper is damaged, it’s best to replace them.
Repairing a toilet handle is a straightforward task that you can accomplish with minimal tools and effort. With these easy steps, you’ll ensure your toilet handle is functioning properly in no time. If you’re looking for an all-in-one solution for toilet repairs, check out our comprehensive Toilet Repair Kit. It includes everything you need for common toilet fixes, along with a user-friendly guide. Perfect for beginners and seasoned DIYers alike!
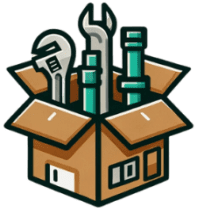
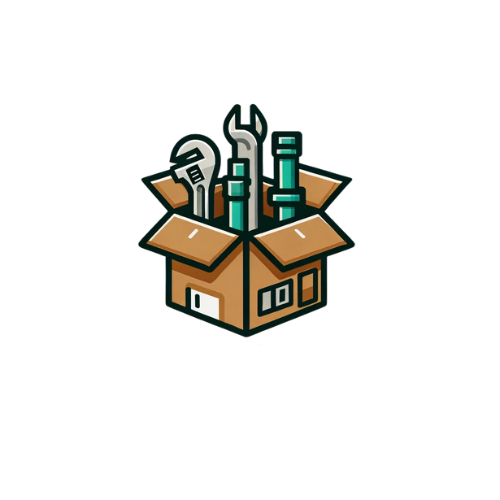
Why Choose the All-in-One Toilet-Tune Up DIY Kit?
- Everything You Need in One Box: From trusty tools to easy-to-follow instructions, this kit is your one-stop solution for all common toilet troubles.
- Save Time and Money: No more frantic hardware store runs or expensive plumber calls. With this kit, you become your own plumbing hero.
- User-Friendly for Beginners: Whether you’re a complete novice like Emma or a seasoned DIYer, this kit is designed for all skill levels.
- Ready to take the plunge into hassle-free toilet repairs? Grab your All-in-One Toilet-Tune Up DIY Kit today and turn your bathroom woes into wins!
[🛒 Click Here to Order Your DIY Kit Now! 🛒]
To your DIY success,
Emma
P.S. Remember, every great DIYer started with a single step (and maybe a rogue toilet). With the All-in-One Toilet-Tune Up DIY Kit, you’re not just buying tools; you’re unlocking a whole new level of home independence. You’ve got this! 👍🛠️


